
Guide to Console HDMI Failures and Repair

A console that powers on but delivers a black screen can stop game night immediately. This guide to console HDMI failures helps you separate a simple cable or settings problem from a damaged HDMI port, a board-level fault, or a television issue that needs a different solution.
HDMI problems affect PlayStation, Xbox, Nintendo Switch, and other systems, but the right repair depends on what the console is doing before and after you connect it. A loose port may still show an image if the cable sits at one angle. A damaged connector may produce no signal at all. Treating every black screen as a broken port can lead to unnecessary expense, while forcing a cable into a damaged port can turn a repairable issue into more extensive board damage.
What Console HDMI Failure Usually Looks Like
An HDMI failure does not always mean the port has completely stopped working. Common signs include a No Signal message on the TV, a picture that cuts in and out, colored sparkles across the screen, flickering, distorted audio, or an image that appears only when the cable is held in a certain position.
Pay attention to the console's normal startup behavior. If the power light comes on, the fan operates as expected, and the controller connects, the system may be booting correctly but failing to send a stable video signal. That points toward the HDMI cable, HDMI port, video settings, or the circuitry that controls display output.
A console that powers on and then quickly shuts off needs a broader diagnosis. HDMI damage may be present, but overheating, power delivery trouble, liquid damage, or motherboard failure may also be involved. The symptom matters as much as the device model.
Guide to Console HDMI Failures: Start With Safe Checks
Before assuming the console needs repair, rule out the external parts of the connection. These checks take only a few minutes and do not require opening the system.
First, test the console with a known-good HDMI cable. Cables can fail internally even when the outer jacket looks fine. Use a cable that is rated for the display features you need, especially if you are running 4K, high refresh rates, HDR, or a newer-generation console. An older or low-quality cable can create intermittent signal loss that looks like a port problem.
Next, try another HDMI input on the television and, if available, another television or monitor. Some TV inputs fail, develop handshake problems, or have settings that interfere with the signal. Power down both the console and display, unplug them briefly, reconnect the HDMI cable firmly, and restart the display before the console. This can resolve a temporary HDMI handshake issue.
Check the console's video settings if you can get an image on another screen. An unsupported resolution, refresh rate, or HDR setting can leave one TV blank while the console works normally elsewhere. Safe mode or low-resolution startup options can be useful for resetting output settings, depending on the console.
Do not repeatedly bend, twist, or wiggle the cable inside the console port to force a picture. That motion can tear internal HDMI pins or lift the port from the motherboard. If moving the cable changes the image, stop testing and have the connector inspected.
Inspect the HDMI Port Without Taking the Console Apart
Use a flashlight and look directly into the HDMI port. You are looking for a port that appears bent, pushed inward, loose, packed with debris, or missing the straight, even row of tiny internal contacts. The connector should sit securely in the console housing, with no obvious gap or movement.
A dropped console, a cable pulled sideways, or a system moved while connected can damage the port's internal pins. This is especially common when a console is placed in a tight entertainment center where the cable is sharply bent behind it. Even a small shift in the connector can break the electrical connection needed for video, audio, or HDCP authentication.
Avoid inserting metal tools, toothpicks, compressed air at close range, or liquids into the port. Debris can sometimes be removed safely during a professional inspection, but an internal contact is easy to bend. A port that looks clean can still be damaged underneath, so a visual check is helpful but not conclusive.
When the HDMI Port Is the Problem
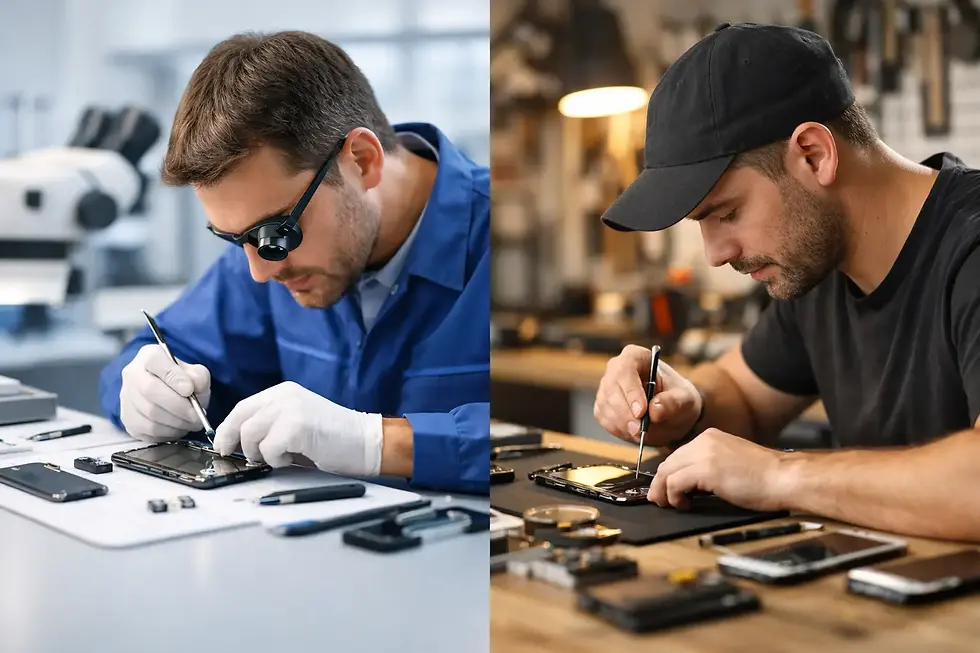
A damaged HDMI port requires more than a new cable. The port is soldered directly to the console motherboard through several structural anchors and a dense set of signal pins. Proper repair involves removing the damaged connector without overheating nearby components, cleaning the solder pads, installing a quality replacement port, and inspecting every joint under magnification.
This is precision board work. Excess heat, lifted pads, solder bridges, or a poorly aligned connector can create intermittent video, no video, or damage to the HDMI control circuitry. A repair that appears successful at the counter should also be tested under real conditions, including stable video output, audio, and a secure cable fit.
At Covington Cell Phone & PC Repair, certified technicians use diagnostic and microsoldering-level practices to identify whether the port itself is damaged or whether the failure has moved deeper into the board. That distinction protects customers from paying for the wrong repair and helps set realistic turnaround and cost expectations.
HDMI Repair Is Not Always a Port Replacement
If the port looks intact and holds the cable firmly but the console still has no image on multiple displays, the issue may be beyond the connector. HDMI signal paths include small filters, protection components, retimer chips, encoders, and power lines that can fail after a surge, liquid exposure, overheating, or physical impact.
A failed HDMI control chip can produce the same No Signal message as a broken port. Replacing the port alone in that situation will not restore video. Board-level diagnosis may involve inspecting the port under magnification, checking continuity on key lines, testing voltage rails, and evaluating components around the video circuit.
This is where repair options depend on the console's age, condition, and value. A newer PlayStation or Xbox with an otherwise healthy motherboard may justify advanced board repair. An older system with several unrelated faults may be better served by a replacement console or a different repair plan. A clear quote after diagnosis is more useful than a guess based on one symptom.
Protect Your Console Before and After Repair
HDMI ports are vulnerable because the cable often takes the force of everyday movement. Once the connection is restored, give the cable enough room behind the console so it is not pressed against a wall or sharply bent. If your setup requires frequent movement, disconnect the cable by gripping the connector body, not by pulling the cord.
For households with children, pets, wall-mounted televisions, or crowded media cabinets, consider cable routing that reduces side pressure on the port. A short extension or right-angle adapter can help in some setups, but the adapter must fit properly and support the console's display requirements. Cheap adapters can introduce their own signal issues, particularly with 4K and high-refresh-rate gaming.
Keep drinks away from the console and avoid plugging or unplugging HDMI cables during electrical storms or unstable power conditions. A surge protector cannot prevent every electrical failure, but it is a sensible layer of protection for a console, television, and connected accessories.
When to Bring in a Console for Diagnosis
Bring the console in when it has no signal with multiple known-good cables and displays, when the HDMI port is visibly loose or bent, or when the image changes as the cable moves. Also seek diagnosis after liquid exposure, a hard drop, or a power surge, even if the port appears normal.
If possible, bring the console, its power cable, and the HDMI cable that was connected when the failure occurred. The original cable can reveal fit or damage issues, while testing with the console's own equipment helps recreate intermittent symptoms. Back up game saves or account information when possible, although HDMI repair usually does not require wiping storage or accessing personal files.
A black screen does not automatically mean your console is finished. Start with the safe checks, stop if the connector feels loose or unstable, and choose a repair provider equipped to diagnose the full HDMI circuit rather than replacing parts by assumption. A precise inspection can get your system back on the screen and keep one damaged port from becoming a bigger interruption.


Comments